5 Surface Preparation Tips for a Flawless Paint Finish
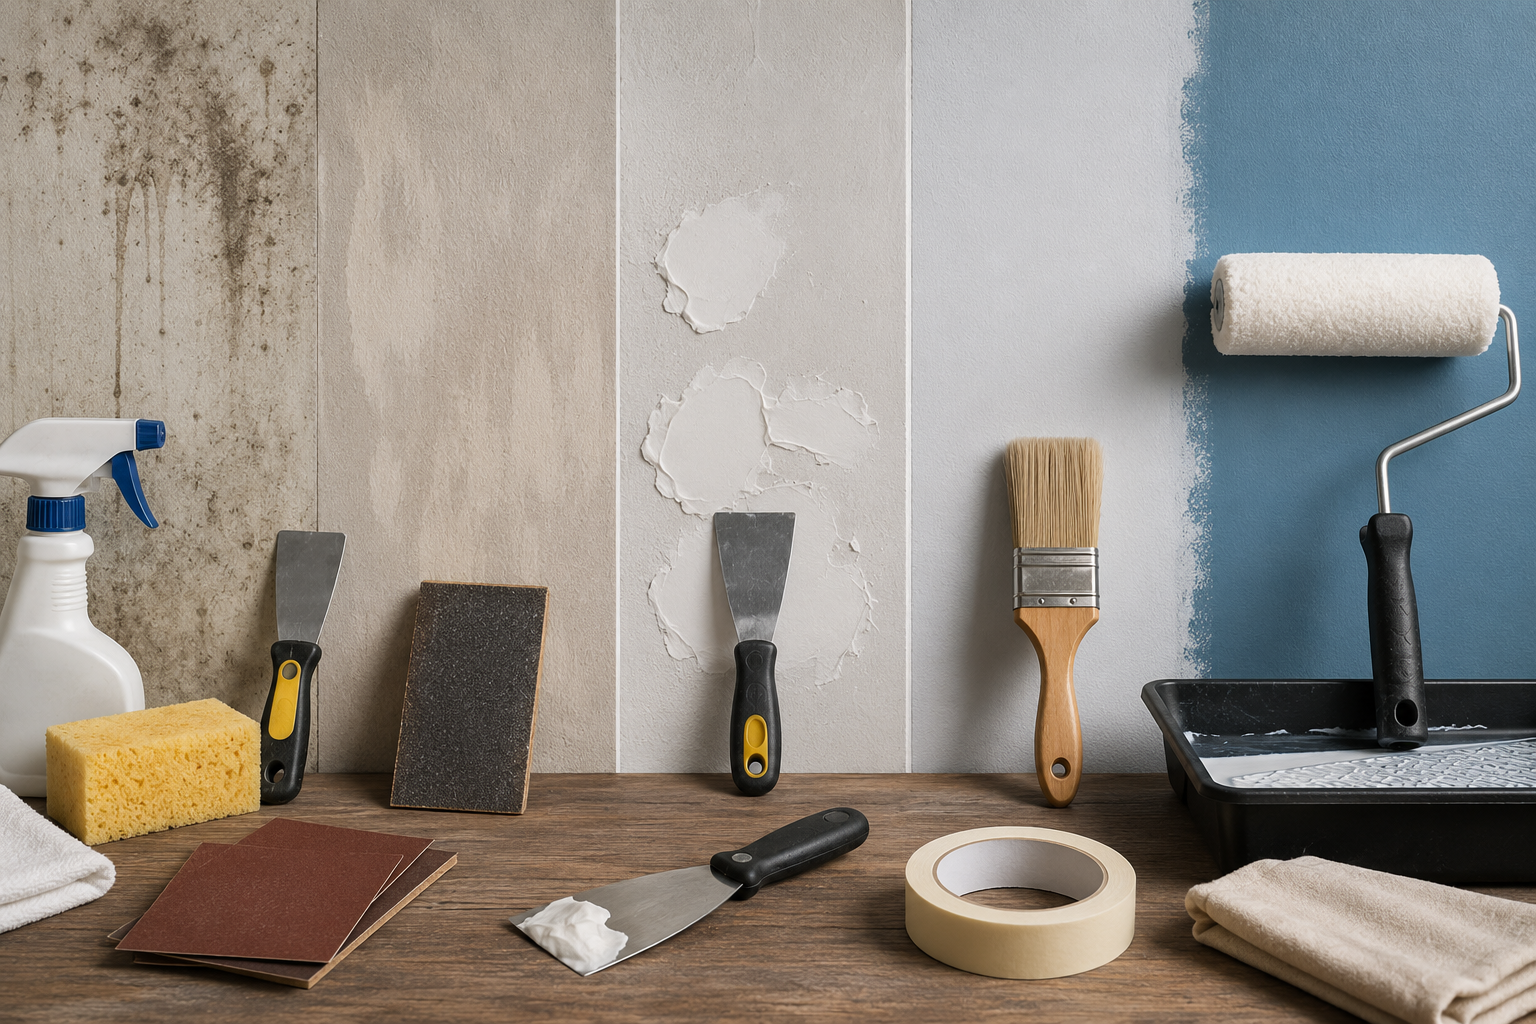
Ask any experienced painter what separates a professional result from an amateur one, and almost none of them will start by talking about the paint. They will talk about what happens before the brush ever touches the wall. The truth is uncomfortable but simple: the finest coating in the world cannot compensate for a surface that was not prepared properly. Peeling, bubbling, patchy sheen, and premature failure almost always trace back to shortcuts taken in the preparation stage.
The good news is that surface preparation is not complicated — it is disciplined. Master these five steps and you dramatically improve both how your finish looks on day one and how long it survives afterwards.
1. Clean Thoroughly — Paint Sticks to Surfaces, Not to Dirt
Every coating bonds to what it touches. If that surface is coated in dust, grease, wax, or old flaking paint, the new film bonds to the contamination instead of the substrate — and contamination lets go. This is the single most common cause of adhesion failure.
Start by removing loose dirt and cobwebs, then wash away grease and grime. Kitchens and workshops often carry an invisible film of oil that must be degreased before painting. On previously painted surfaces, scrape away anything that is flaking or lifting; if it is not stuck now, it will not stick under a fresh coat either. Wipe the surface down and, just as importantly, let it dry completely. Trapping moisture under paint is a recipe for blistering. A genuinely clean, dry surface is the foundation everything else is built on.
2. Sand Evenly — Give the Coating Something to Grip
Most substrates need a mechanical key: a slightly roughened profile that gives the paint microscopic texture to hold onto. Glossy or sealed surfaces in particular must be dulled, because paint slides off a slick surface no matter how clean it is.
Sand in the direction of the grain on wood, and work progressively — start with a coarser grit to remove imperfections, then step up to a finer grit to smooth the surface without leaving visible scratches. The goal is not to gouge the material but to create an even, consistent profile across the whole area. Feather the edges around any repaired or previously chipped spots so there are no hard ridges to telegraph through the finish. When you are done, the surface should feel uniform to the hand, with no glossy patches left behind.
3. Repair Defects — Fix Flaws Now, Not After the Topcoat
Paint is not a filler. It follows the shape of whatever is beneath it, which means every crack, dent, nail hole, and gouge you leave will still be visible — often more visible — once the surface catches the light. The time to fix these is before you prime, never after.
Fill cracks and holes with an appropriate filler, slightly overfilling to allow for shrinkage as it dries. Once cured, sand the repair flush with the surrounding surface so there is no bump or depression. Run your hand over the area with your eyes closed — your fingertips detect flaws your eyes miss. On larger repairs it is often worth a second pass of filler and sanding to get a truly seamless result. Skipping this step is the fastest way to end up with a smooth coat over a lumpy surface.
4. Prime Correctly — The Bridge Between Surface and Topcoat
Primer is not just an extra layer of paint; it is a specialised coating that does jobs the topcoat cannot. A good primer seals porous surfaces so the topcoat does not sink in unevenly, blocks stains and tannins from bleeding through, promotes adhesion on difficult substrates, and creates a uniform base colour so the finish reads evenly.
The key is matching the primer to both the surface and the topcoat. Bare wood, fresh plaster, and metal each have different needs, and using the wrong primer — or skipping it on a demanding surface — undermines everything above it. Metal, for instance, needs a primer engineered to resist corrosion and grip a non-porous surface. Apply primer evenly, let it cure as directed, and give it a light scuff sand if the manufacturer recommends it before the topcoat. A correctly primed surface is what turns good paint into a lasting finish.
5. Respect Drying and Recoat Times — Patience Is Part of the Process
It is tempting to rush the next coat while momentum is high, but coatings cure chemically, not just by feeling dry to the touch. Recoating too early traps solvents, softens the film, and can cause wrinkling, poor adhesion between coats, or a finish that never reaches full hardness.
Always follow the recommended drying and recoat windows, and remember that temperature and humidity change them. Cold or damp conditions slow curing dramatically; excessive heat can cause the surface to skin over before the layer beneath has cured. Whenever possible, work in stable, moderate conditions with reasonable ventilation. Building a finish in properly cured layers is what gives it the depth, durability, and even sheen that mark professional work.
Why This Order Matters
These steps build on one another. Cleaning makes sanding effective; sanding makes repairs and primer adhere; primer makes the topcoat perform; and correct drying locks all of it together. Skip or rush any one of them and you weaken the entire chain. Preparation is not the boring part before the real work — it is the real work. The topcoat simply reveals how well you did it.
Different Surfaces, Different Rules
The five steps are universal, but the details shift with the material. Bare wood needs grain-direction sanding and often a sealer to control absorption. Fresh plaster and masonry must be allowed to cure and dry fully — sometimes for weeks — before painting, or trapped alkalinity and moisture will attack the film. Metal demands degreasing, removal of rust and loose scale, and a corrosion-inhibiting primer to stand any chance of lasting outdoors. Previously painted surfaces need a check for adhesion and compatibility so the new system does not react with or lift the old one. Reading the surface before you start tells you which parts of the process deserve the most attention.
Tools and Safety Are Part of Preparation Too
Preparation is not only about the surface — it is about setting yourself up to work cleanly. Mask edges and protect floors and fittings before you begin, so you are not rushing to fix drips later. Keep the workspace ventilated, wear appropriate protection when sanding or degreasing, and have clean cloths and the correct abrasives on hand. A tidy, well-organised start makes every following step faster and reduces the small mistakes that creep in when you are improvising mid-job.
A Small Investment That Pays Off for Years
Thorough preparation usually takes more time than the painting itself, and that ratio is exactly why so many finishes fail — people spend their effort where it shows immediately rather than where it counts long term. Invest the hours up front and you get a finish that looks flawless, resists wear, and lasts far longer before it needs attention.
Ready to put good prep to work with the right products? Explore our product range to find primers and topcoats matched to your surface, or contact our team for advice on preparing a specific project.
Frequently Asked Questions (FAQs)
1. Why is surface preparation more important than the paint itself?
Even the finest coating cannot compensate for a poorly prepared surface. Peeling, bubbling, patchy sheen, and premature failure almost always trace back to shortcuts taken during preparation, not to the paint quality. Preparation is the foundation every other step builds on.
2. What grit sandpaper should I use for surface preparation?
Start with a medium grit (around 80 to 120) to remove imperfections and old coatings, then finish with a fine grit (180 to 220) to create a smooth, even surface profile. Always sand in the direction of the grain on wood and feather the edges around any repaired areas.
3. How do I know if a surface is clean enough to paint?
A clean surface should be free of dust, grease, wax, flaking paint, and any visible contamination. After cleaning and drying, run your hand across the surface. It should feel uniformly smooth with no sticky or powdery patches.
4. Do I always need to use filler before painting?
Only if the surface has cracks, holes, dents, or nail holes that would remain visible after painting. Fill these slightly proud of the surface, allow to cure fully, then sand flush. Skipping filler on damaged surfaces is the fastest way to end up with a smooth coat over a lumpy finish.
5. How long should I wait between primer and topcoat?
Always follow the manufacturer recommended recoat window. Generally, primer should be touch-dry and fully tacked before the topcoat is applied. Recoating too early traps solvents, softens the film, and can cause poor adhesion or wrinkling between coats.
6. Does temperature affect surface preparation and painting?
Yes. Cold slows drying and curing significantly; excessive heat can cause the surface to skin over before the layer beneath has cured. Aim to work in stable, moderate temperatures with reasonable ventilation for the best results.
7. What is the correct order of surface preparation steps?
The correct order is: clean thoroughly, repair defects, sand evenly, remove all dust, apply primer, allow full drying time, then apply topcoat. Each step builds on the previous one, and skipping or rushing any single step weakens the entire system.
Need help choosing the right finish?
Talk to our team or request a tailored quotation for your project.