Painting Bathroom & Kitchen Walls: Moisture-Resistant Coatings, Mould Prevention & the Right Finish Guide
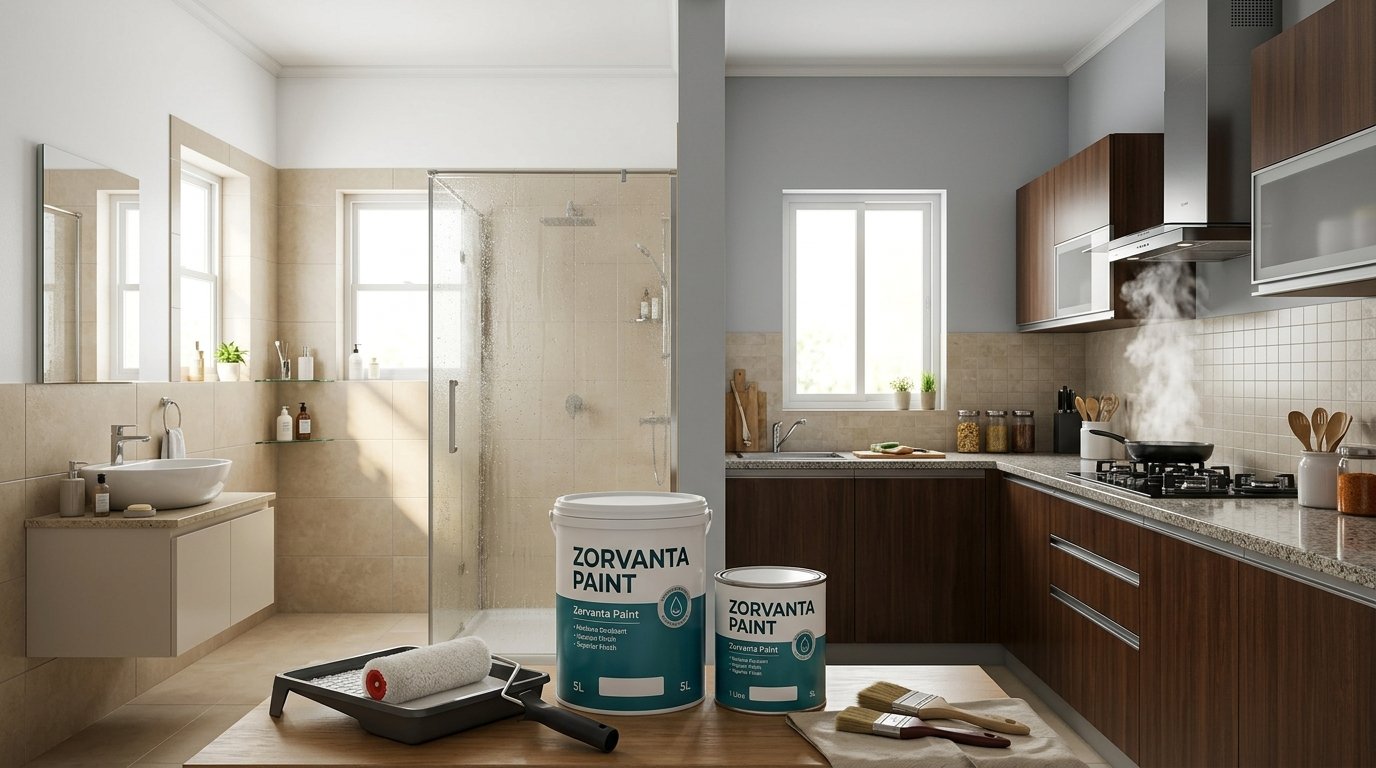
Walk into most Indian homes and you will find the same pattern: beautifully painted living rooms and bedrooms, and bathrooms and kitchens where the paint is peeling, stained, or covered in black mould patches. This is not a coincidence, and it is not simply the result of using low-quality paint. It is the direct consequence of applying a product that was never designed for the conditions these rooms produce — sustained humidity, direct water contact, cooking grease, steam, and temperature cycles that no standard interior emulsion was formulated to survive.
The good news is that bathrooms and kitchens, painted with the right products in the right sequence, hold their finish beautifully. The surfaces that look the worst when done wrong can look the best when done right — because the coating options available for wet zones offer genuine advantages over standard emulsion in durability, cleanability, and long-term hygiene. This guide takes you through every aspect of getting it right: why standard paints fail, what the correct product options are, how to prepare the surface properly, how to prevent mould from establishing, and what finish characteristics to look for in each room.
Why Standard Emulsion Fails in Bathrooms and Kitchens
Standard interior emulsion is formulated for dry or moderately humid environments — living rooms, bedrooms, corridors. Its binder system is water-based, its film is breathable, and it performs well under normal residential conditions. The moment it is placed in a bathroom or kitchen, it is asked to perform in a completely different environment, and the cracks in its capability quickly become visible.
In a bathroom, the primary enemies are sustained high humidity and direct water splash. Every shower raises the relative humidity in the room to near 100 percent for 15 to 30 minutes. Over weeks and months, this repeated cycle of wet and dry progressively weakens the adhesion of standard emulsion to the substrate beneath it. Water migrates behind the paint film through micro-pores and tiny cracks in the substrate, and when it tries to escape as vapour, it pushes the paint film forward from behind. The result is the characteristic blistering and peeling that appears first near the shower, then spreads progressively across the wall.
In a kitchen, the primary challenges are grease, steam, and the temperature cycling produced by cooking. Airborne cooking oil deposits on wall surfaces over time, building up a greasy film that makes standard emulsion surfaces progressively harder to clean without leaving streaks or rubbing the paint off. Steam from cooking raises humidity rapidly, and the temperature swings between cooking heat and the ambient room temperature produce expansion and contraction stresses in the paint film that accelerate cracking and adhesion loss. Standard emulsions are simply not designed to withstand repeated washing, scrubbing, and the grease exposure that a kitchen wall sees.
Mould is the third enemy in both spaces. Standard emulsion provides an organic binder that mould spores can use as a nutrient source. Combined with the moisture these rooms provide, standard emulsion is essentially an ideal growing environment for the black mould and grey-green mould species that are a near-universal problem in Indian bathrooms and kitchens. Once mould establishes itself under a paint film, painting over it simply delays — not prevents — its return.
Understanding the Wet Zone: What Areas Need Specialist Coatings
Not every wall in a bathroom or kitchen is equally exposed. Understanding the exposure zones helps you apply the right product where it is actually needed, and avoid over-specifying in areas where standard products would serve perfectly well.
In a bathroom, the direct splash zone — the area within 60 centimetres of the shower, bath, or basin — is the most demanding surface. This area receives direct water contact regularly and must be coated with a product that has genuine waterproof resistance, not just moisture resistance. Beyond the splash zone, the high-humidity zone extends across all four walls of the bathroom: everything in the room is exposed to sustained high humidity during use and needs a moisture-resistant coating. The ceiling — directly above the shower or bath where rising steam is hottest and most concentrated — is particularly vulnerable to mould and peeling and deserves the same specification as the walls.
In a kitchen, the cooking zone — the wall directly behind and beside the hob — is the most demanding surface. This area receives grease splatter, high-temperature steam, and direct heat exposure that no standard emulsion can withstand. A hard, washable, grease-resistant coating is required here. The rest of the kitchen walls are in the general kitchen zone: exposed to general cooking humidity, airborne grease, and more frequent cleaning than any other room in the house. A moisture-resistant, washable finish is the minimum specification for this area.
The Right Coatings for Bathroom Walls: Options and Performance
The coating options for bathroom walls range from enhanced interior emulsions through to true waterproof systems, and choosing the right one depends on the specific exposure level of the surface and the budget available.
Moisture-resistant interior emulsion — formulated with enhanced binders and an antimicrobial biocide additive — is the entry-level correct specification for general bathroom walls. These products outperform standard emulsion significantly in humid environments: they dry to a harder, less porous film that resists moisture penetration better, and the built-in biocide resists the establishment of mould colonies on the paint surface. For bathrooms with reasonable ventilation and no direct water splash on the painted surface, a quality moisture-resistant emulsion is a durable, cost-effective choice.
Eggshell and satin finish coatings offer a step up in washability over matte finishes and are highly appropriate for bathrooms. The semi-gloss surface of an eggshell or satin is less porous than matte, repels moisture more effectively, and can be wiped down with a damp cloth without the paint rubbing off — a significant advantage in a room that needs regular cleaning. The slight sheen also brightens a typically small, often windowless bathroom by reflecting light, which is an added aesthetic benefit. Many premium bathroom paints are formulated specifically in a satin finish for exactly this reason.
Epoxy paint or two-component epoxy coatings represent the premium end of bathroom wall finishes. Two-component epoxy systems produce a hard, chemically inert, genuinely waterproof film that bonds tightly to prepared masonry surfaces. On bathroom walls, epoxy paint withstands sustained water contact, heavy cleaning with bathroom cleaning products, and sustained humidity without blistering, peeling, or discolouring. It is the correct specification for the direct splash zone immediately around showers in continuously busy bathrooms, for rentals and commercial bathrooms with very heavy use, and for any bathroom where the walls have a persistent history of paint failure despite previous repaint attempts.
Bathroom tile paint is a specialist product category worth noting. Where existing tiles are sound but dated in colour, a dedicated tile paint — an enamel or epoxy formulation with strong adhesion to glazed ceramic surfaces — allows recolouring without the cost and disruption of re-tiling. Done correctly with the right product, tile paint holds on bathroom tiles for three to five years before showing wear at high-contact points.
The Right Coatings for Kitchen Walls: Grease Resistance and Cleanability
Kitchen walls demand a different priority hierarchy from bathroom walls. While moisture resistance is still important, the defining requirement for kitchen walls — particularly around the cooking zone — is grease resistance and the ability to be scrubbed clean repeatedly without the paint degrading.
Semi-gloss and gloss enamel is the traditional and still highly effective specification for kitchen walls. Oil-based synthetic enamel dries to a hard, smooth, low-porosity surface that resists grease absorption, wipes clean easily, and holds up to the frequent scrubbing that a kitchen wall around the hob requires. It is durable, genuinely washable, and provides a bright, reflective surface that keeps a kitchen feeling lighter and cleaner. The disadvantages are its stronger solvent odour during application and longer drying time — but for sheer practical performance in a kitchen, it remains a valid and widely used specification.
Water-based satin and semi-gloss emulsions formulated for kitchen use have improved enormously in recent years. Premium kitchen-specific emulsions now achieve washability and grease resistance approaching that of enamel while offering the practical advantages of water-based application — easy clean-up, fast drying, low odour, and colour stability under light exposure. They are the preferred modern specification for most residential kitchens and are available in the full colour range that makes kitchen design possible.
Behind-hob protection deserves specific attention. The wall directly behind the cooking hob — exposed to direct heat, grease splatter, and steam — is ideally protected with a non-combustible, heat-tolerant material. A ceramic tile splashback is the standard and most durable solution for this specific zone. Where tiling is not feasible, a high-temperature resistant enamel or a glass splashback provides adequate protection. Applying standard paint directly to the wall surface directly behind a gas hob is not a long-term solution; the heat and grease combined will degrade any paint film quickly.
Surface Preparation: The Step That Determines How Long the Finish Lasts
In bathrooms and kitchens more than anywhere else in the house, surface preparation before painting determines the longevity of the result. The challenging environments these rooms present mean that any weakness in the substrate, any mould left untreated, or any surface contamination sealed under the new coat will result in premature failure — often within a single monsoon season.
Begin by removing all existing loose and flaking paint. In bathrooms that have already experienced paint failure, this typically means a significant amount of paint peeling back from blistered areas around the shower. Remove everything that is not firmly bonded to the substrate, feathering the edges. Tap the wall surface systematically — any hollow sound indicates delaminated plaster behind the paint that must be hacked out and replastered before repainting. Skipping this step means the new paint is applied over a substrate that is about to fail regardless of the quality of the topcoat.
Treat all mould thoroughly before any new paint is applied. A dilute bleach solution — one part household bleach to four parts water — applied to mould-affected areas and left for 20 minutes kills active surface mould effectively. Scrub with a stiff brush, rinse, and allow to dry completely. For persistent or recurring mould, a dedicated antifungal pre-treatment wash provides a more complete kill of the mould colony including spores. Mould painted over without treatment will re-emerge through the new paint film within weeks.
In kitchens, the preparation challenge is grease. Decades of cooking in an Indian kitchen build up a layer of airborne grease on wall surfaces that is often invisible to the naked eye but highly effective at preventing paint adhesion. Wash kitchen walls thoroughly with a strong degreasing detergent — sugar soap or a proprietary degreaser — before any priming or painting. Rinse completely and allow to dry before any product is applied.
Fill all cracks and surface defects with a suitable filler — a flexible, waterproof crack filler for bathrooms, a standard fine surface filler for kitchens. Allow to cure and sand smooth. In bathrooms, pay particular attention to the joint between wall and floor slab, around pipe penetrations, and at any junction between different substrate materials — these are where water entry is most likely.
Priming in Wet Zones: Why You Cannot Skip This Step
Primer is essential in bathrooms and kitchens — more so than in any other room. The primer layer provides the adhesion foundation and the sealing barrier that the topcoat alone cannot provide. Applying topcoat directly to unprepared or unprimed walls in these rooms is one of the most reliable ways to produce a paint job that fails within a year.
For bathrooms, a waterproof or moisture-resistant primer is the correct specification. These primers penetrate into the substrate, seal micro-pores that would otherwise allow moisture movement behind the topcoat film, and provide a stable adhesion surface for the topcoat. On previously damp walls, a stain-blocking primer applied beforehand prevents any residual staining from migrating through the new paint system.
For surfaces that have had mould problems, applying an antifungal primer — one containing biocidal additives — over the treated and cleaned surface provides an additional layer of mould protection before the topcoat. This is not a substitute for treating existing mould correctly; it is a supplementary protection layer for a clean surface.
For kitchens with previously greased walls that have been cleaned and dried, a bonding primer or alkali-resistant primer ensures the topcoat has a sound adhesion base. On new or freshly replastered surfaces, an alkali-resistant primer is essential to prevent the high alkalinity of fresh cement attacking the binder of the topcoat.
Mould Prevention: Understanding Why It Keeps Coming Back
Mould on bathroom and kitchen walls is one of the most common complaints from Indian homeowners, and it is almost always the result of a combination of conditions rather than simply a paint quality issue. Understanding why mould returns after repainting is essential for breaking the cycle.
Mould requires three things simultaneously: moisture, a nutrient source, and a surface to grow on. In a poorly ventilated bathroom, all three are permanently available. The moisture comes from showering. The nutrients come from organic content in standard paint binders, soap residue, and airborne particles that settle on surfaces. Painting with a standard emulsion replaces the nutrient source with a fresh one while doing nothing about the moisture or the ventilation. Mould returns because the conditions that support it are unchanged.
The three-part solution addresses each condition. First, improve ventilation — a functioning exhaust fan venting outside, running during and for 15 minutes after every shower, reduces the duration of high humidity significantly. This is the single most impactful intervention for recurring bathroom mould. Second, use an antimicrobial paint with biocides in the formulation — these resist mould growth on the paint film surface, extending the interval before regrowth. Third, address any residual moisture source — a leaking tap, a gap in silicone sealant around the shower tray, or water penetration through the external wall — that keeps the substrate wet continuously regardless of ventilation.
Choosing the Right Colour and Finish for Bathrooms and Kitchens
In bathrooms, white and near-white shades remain dominant for good reason: they read clean, they reflect light in typically small rooms, and they complement the ceramic whites of sanitaryware. However, the Indian bathroom is increasingly moving toward softer neutrals — warm dove grey, sage green, dusty blush — that give the space more character while maintaining a sense of cleanliness. Finish should be satin or eggshell in all cases. Matte finishes in bathrooms show water marks and are harder to keep clean, while high gloss can look clinical and highlights surface irregularities.
In kitchens, colour choices work best when considered alongside cabinetry, countertop, and flooring colours. Warm whites and off-whites are universally safe, brightening the space and providing a neutral backdrop. Soft sage greens, warm terracottas, and muted navies have become popular in contemporary Indian kitchens. The cooking zone wall should always be in a light, washable shade — dark colours show grease marks more readily. Finish should be semi-gloss or satin throughout the kitchen, with the hardest available washable finish for the cooking zone wall.
Practical Tips for Bathroom and Kitchen Painting in Indian Conditions
Time your painting project during the dry season wherever possible. Applying paint in bathroom or kitchen conditions during the monsoon — when ambient humidity is already very high — slows drying significantly, increases the risk of condensation forming on the wet paint surface, and can result in blushing in some topcoats. If painting must be done during the monsoon, run a ceiling fan to maximise air movement and allow at least 50 percent longer drying time between coats than the label instruction.
Allow generous drying time between primer and topcoat, and between topcoat coats. Rushing the interval in a bathroom or kitchen — where the air is more humid — is a common cause of solvent trapping and slow cure, producing a paint film that is softer and less resistant than it should be.
Silicone sealant, not paint, at junctions. The junction between the wall and the bath, shower tray, or sink should be sealed with waterproof bathroom silicone sealant rather than bridged with paint. Paint across these junctions cracks under micro-movement. Silicone remains flexible and watertight for years. Renew silicone sealant every three to five years, or whenever it shows cracking, persistent mould, or any sign of water penetration behind it.
In kitchens, mask adjacent surfaces carefully before painting near cabinetry and worktops. Kitchen semi-gloss and enamel finishes are harder to remove from surfaces than standard emulsion, and drips on cabinet doors or tile grout after drying are disproportionately difficult to clean up.
The Zorvanta Approach to Bathroom and Kitchen Wall Coatings
At Zorvanta, our interior coating range includes products formulated specifically for the demanding conditions of bathrooms, kitchens, and other wet or high-humidity rooms in Indian homes. Our moisture-resistant interior emulsion is designed with enhanced binder technology and antimicrobial additives that resist mould establishment on the cured paint film — a meaningful step up from standard emulsion in any room with elevated humidity. For maximum durability in direct splash zones, our satin finish bathroom coating delivers a hard, cleanable, water-repellent surface that outperforms standard emulsions in sustained humid conditions.
For kitchens requiring genuine washability and grease resistance, our kitchen-grade semi-gloss emulsion and our synthetic enamel range both provide the hard, wipe-clean surface that cooking environments demand. All our wet-zone products are designed to work over the correct primer specification — our alkali-resistant primer for new plaster, and our antifungal primer for surfaces with a history of mould — providing complete system performance that guarantees results. Explore our full interior coatings range, read our companion guides on repainting damp and stained walls and diagnosing common paint problems, or contact our team for room-specific advice. For a painting quotation for your bathroom or kitchen project, request one here.
Frequently Asked Questions (FAQs)
1. Can I use regular interior emulsion in a bathroom if I have good ventilation?
Ventilation significantly reduces but does not eliminate the moisture challenge in a bathroom. Standard interior emulsion in a well-ventilated bathroom will last longer than in a poorly ventilated one, but it will still underperform compared to a moisture-resistant or bathroom-specific emulsion in the same conditions. The additional cost of a bathroom-grade product is small relative to the additional service life it delivers. For bathrooms that have previously had paint failure issues, upgrading to a moisture-resistant product is the correct response regardless of ventilation quality.
2. How do I stop mould coming back after I repaint my bathroom?
Mould recurrence is driven by the combination of moisture and inadequate ventilation, not by paint quality alone. Treat existing mould thoroughly before repainting — bleach wash, dry completely, antifungal primer. Use a bathroom paint with antimicrobial biocide. Improve ventilation — a functioning exhaust fan venting outside, running during and after showering — to reduce the duration of high humidity. Check and renew silicone sealant at water junctions to eliminate ongoing moisture entry. Addressing all three factors simultaneously produces a lasting improvement.
3. What is the best paint for a kitchen wall near the cooking hob?
For the wall directly adjacent to the cooking hob, a ceramic tile splashback is the most durable and practical solution. Where tiles are not feasible, a hard semi-gloss or gloss enamel in the lightest available colour is the most practical painted option. Be aware that no paint film holds indefinitely in the direct cooking zone — the combination of heat, grease, and steam will eventually require repainting, typically every two to three years in this specific zone.
4. Should I use gloss or satin paint in a bathroom?
Satin is the recommended finish for most bathrooms — it provides the washability and moisture resistance needed without the clinical look of high gloss. High gloss is more durable and easier to clean, but it shows every surface imperfection and brush mark under the reflective surface. Matte is not recommended for bathrooms — it is more porous, harder to clean, and shows water marks. Eggshell is a reasonable compromise if a flatter appearance is strongly preferred.
5. How long will bathroom and kitchen paint last before needing to be redone?
With the correct product specification and surface preparation, a bathroom painted with a quality moisture-resistant coating will typically hold its finish for four to six years before repainting is needed. Kitchens vary — the wall near the hob may need refreshing every two to three years, while general kitchen walls with a quality semi-gloss should last four to five years. In both cases, preparation quality and product specification determine service life more than any other factor.
6. Do I need a separate primer for bathroom and kitchen walls, or can I skip it?
Primer should never be skipped in bathrooms or kitchens. In these rooms, primer seals the substrate against moisture movement, prevents stain bleed-through, and provides the antimicrobial foundation layer that protects against mould. Painting directly over bare plaster or cleaned but unprimed walls in wet zones is one of the most reliable ways to produce a paint job that peels within a season. The right primer for the specific surface condition — moisture-resistant for bathrooms, alkali-resistant for new plaster, antifungal for mould-affected surfaces — is an essential part of the system, not an optional extra.
Need help choosing the right finish?
Talk to our team or request a tailored quotation for your project.